Clinical-dentistry-Tips, Dental-Practice-growth
On one end of the ladder is leaving the crown high and telling the patient “Settle ho jaega” and on the end is over reducing the prosthetic crown thinking “yeh supraerupt hoke contact mein aa jaega”
Unfortunately both these can have long term deleterious effects on the patients dentition and thus we clinicians should refrain from such erroneous practice.
As ethical clinicians, it is imperative that we do not introduce any interference in the patient’s mouth when crowning a tooth and this makes adjusting the occlusion at the bisque trial phase one of the most critical steps in fixed prosthodontics.
Occlusion at bisque trial should be adjusted in two separate steps:
1. Static Occlusion: Where the bite is adjusted in Maximum Intercuspation with POINT contacts on functional cusp tips, mesial/distal marginal ridge and/or central fossa only.
This should ideally be done with 40 micron Blue colour articulating paper.
2. Dynamic occlusion: Where excursive contacts are checked (in working side excursion as well as non-working side excursion) and any LINE markings are eliminated completely. It is important to remember that posterior teeth should contact only during Maximum Intercuspation and should be completely disoccluded in every excursive movement.
This should ideally be done with 40 micron Red colour articulating paper
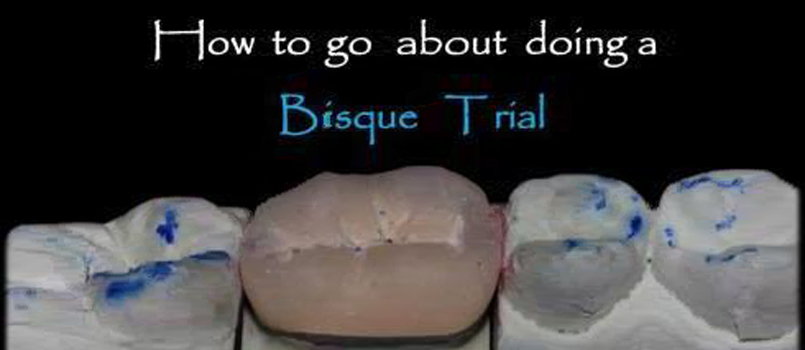
Let’s see how to go about doing a Bisque trial for tooth number 17 diagrammatically.
First static occlusion is adjusted to achieve 4 points of contact in MIP using blue paper.

Next with red paper working excursion is checked. As depicted a line is seen on the buccal cusp. This line is a working side interference and thus should be completely eliminated.

Following this the non working excursion is checked and any red line marking is eliminated.

This concludes the bisque trial and the crown is now ready for glazing.

”Dots at the Back and Lines in the Front” is the key to achieving an interference free occlusion.

Dr. Moez Khakiani


